I made a quick decision to crop my puppy’s ears, took a long drive to Riverside for the surgery, and then realized I forgot how to post cropped ears. It’s been over 15 years since I’ve done it. What materials to use, how long to post, what to watch for?
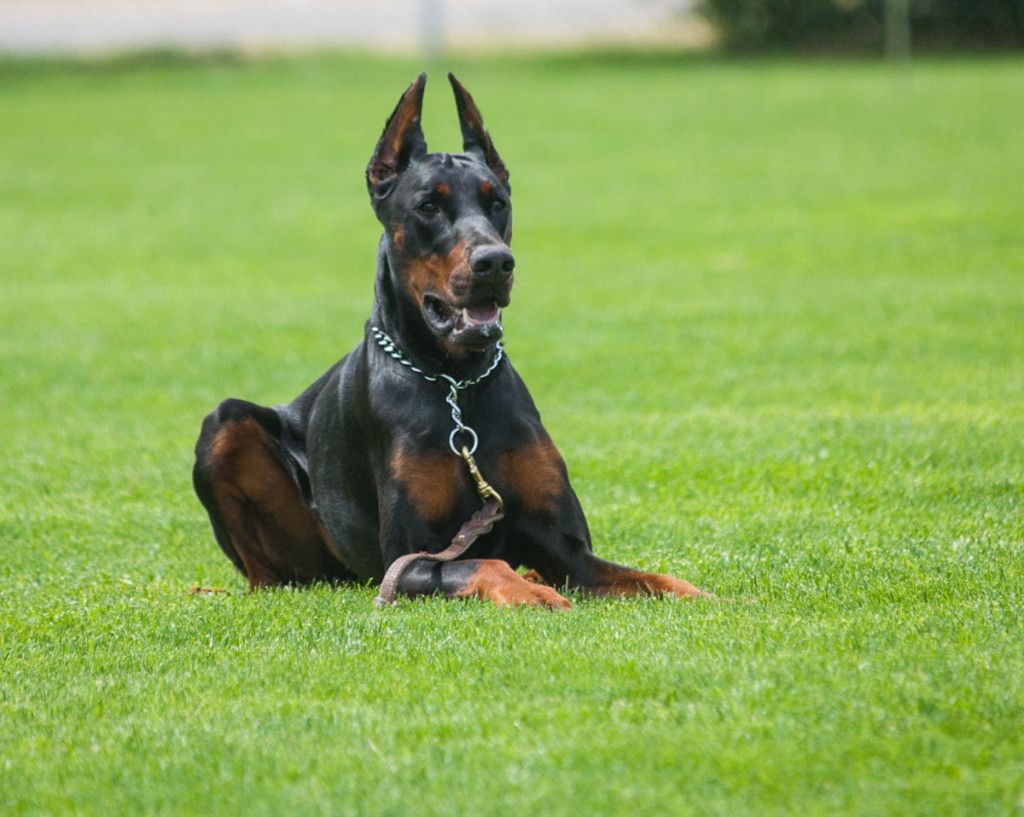
Nitro is 14 months now and has beautiful ears. Below is my cropping experience for that last year and still going.
Ear posting has 3 phases: healing, posting, and correcting.
HEALING.

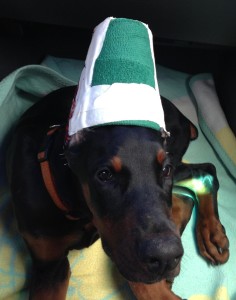
During the healing phase all you have to worry about is to let the ears heal: avoid infection, don’t let puppy scratch or bang them, and always keep ears up. After the surgery, the vet ties ears to the cup to keep them upright.

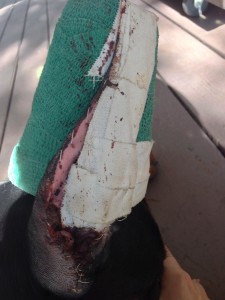
The ears are taped on the front side, but the stitched side is open. The stitches side is slightly swollen and soft for the first few days after the surgery. It begins to dry after that. Disregard the blood marks on the photo – it’s original blood after the surgery. If your puppy’s ears had swollen a lot more that shown on the photo or they bleed a lot – contact a vet immediately.

For the first 11-12 days keep your puppy from scratching the ears to prevent bleeding. I was worried about infection and felt like I should be cleaning the wounds regularly, but my vet recommended to leave the ears as it is, unless they bleed. No ointments, no hydrogen peroxide – just let them heal. Nitro banged his “turban” a few times causing stitches to bleed a bit. I used toilet paper to soak the blood and nothing more.
After 11-12 days you have to remove the stitches and post the ears for the first time. Removing stitches is very easy. Ask your vet how many stitches he put in each ear and make sure to pull all of them out. It is really not worth a trip to a vet’s office.
After all the stitches were out, I cleaned the ears for the first time. I used warm water to remove pieces of dry blood from the ears and Hydrogen Peroxide to disinfect them (note – there were no open wounds on the ear at that point). I think I also put a bit of triple antibiotic ointment where the stitches were.
It is crucial to get the ears up as soon as possible, so don’t wait too long before taping them up. My first ear taping attempt was terrible. I didn’t get the right tape and my puppy won’t sit still for a minute. I made a mistake of doing this alone late at night. Big mistake. You will definitely need help holding the puppy for the first posting. Nitro didn’t settle, I spent 2 hours trying to get his ears up with the tampons, and eventually gave up and wrapped his ears with the tape just to keep them somewhat upright. First thing in the morning – I drove to my friend’s house to re-post the ears.
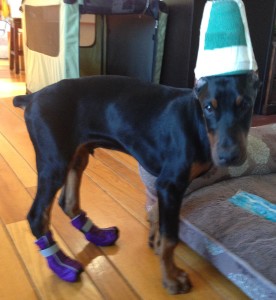
On the photo – Nitro’s ears are posted with tampons using regular tape from the pharmacy. That tape doesn’t work for ear posting – make sure to get the right materials.
POSTING.
At this phase you keep the ears up and shape them. As puppy grows, so do his ears – they develop cartilage. If you let the ears hang down (or fold on the top of his head) as cartilage develops – the ears will grow keeping this shape. At the early weeks of posting (if you keep the ears down or folded) you also risk of incorrect blood circulation that could cause serious complications.
When posting ears at this phase you are looking to:
- stretch the ears up,
- push up the ear pockets at the front,
- and to shape the ear tips.
There are several ways to post ears. I recommend to interchange between a few methods. You will find that sometimes the skin under the tape get sores or blisters. Knowing a few methods gives you options to let the wounds heal, while still having the ears posted. My puppy quickly developed yeast infection when I was posting ears with tampons due to lack of ventilation inside the ear. It happened at the early stage. Continue posting ears with tampons only encouraged yeast infection. Not posting ears for a week or so would cause a serious damage at that stage.
Ear posting methods:
- Ear posting with tampons is the main method to use initially. The tampons are strong enough to keep the ear stretched up and to hold the ear pockets support. They are also convenient because you can adjust the length of a tampon as ear grows. This method is not quick to apply or light for a dog to carry, but it provides a solid support that is crucial at the posting phase.
- A light ear posting method with tape only (tape crown) is a good option to use occasionally during this phase. It is not easy to apply, but it is light for a dog to carry, and it keeps the ear open for ventilation. Also, it leaves the stitched side of the ear open, which is helpful if your puppy got sores on that side that need to heal.
- The tape tubule method is the easiest, fastest, cheapest way to post cropped ears. I remember that was the only method I used back in Ukraine. Though, now, having learned about ear posting with tampons method, I wouldn’t recommend to use this method at the very beginning.
I see 3 downsides of this method:
– it covers the entire ear flap with tape, which is not good in hot weather;
– it doesn’t pull the ear up as strong as the method with tampons;
– and it doesn’t provide enough support to push the ear pockets up.
With this said – I do use this method quite often. It was a great option on the road or in a hurry, when you have to post ears up quickly. I also like it because it leaves the inside of the ear open, which makes it a lot easier for a dog. My puppy definitely shook his head a lot less when his ears were posted using this method.
I DO NOT RECOMMEND creating a bridge between the ears (method 1 and 3). I believe it makes it more difficult to push the ear pockets up and causes problems at a later stage (i.e. the ears fold on the forehead). I think there is no reason to pull the ears closer together if you apply the above methods correctly.
Do not neglect ear tips. If left continuously untapped – they tend to bend inside.
CORRECTING.
At this phase the ears should be able to stand on their own and have a proper shape overall. My puppy’s ears would look perfect for a few days or a week, and then begin to “shift” somewhere. At that point I would correct them using the methods below:
- The tape tubule method also works for correcting. Sometimes cartilage gets softer and an ear flap folds behind – sort of hanging down. This method is an easy fix for the problem.
- Posting ears with cotton swabs and nasal strips method gives you a bit more solid support than the tape tubule method. Especially, if you need to keep pushing the ear pocket up, or to fix an ear tip.
I will continue posting Nitro’s ears as long as his head continue growing. He spends most of the time now with no ear support, but the longest has been so far about 3 weeks. Then he needs a correction for a week or so and the ears seem to be fine again.

